If File asks for Password Use :- GFXInspire.com -
Creating visually engaging videos is essential in today's digital landscape. If you’re looking to add a unique flair to your projects, the
Free Drawn Transitions available at are just what you need. These transitions are perfect for enhancing storytelling in videos, making them visually captivating and memorable.
[HEADING=1]What Are Drawn Transitions?[/HEADING]
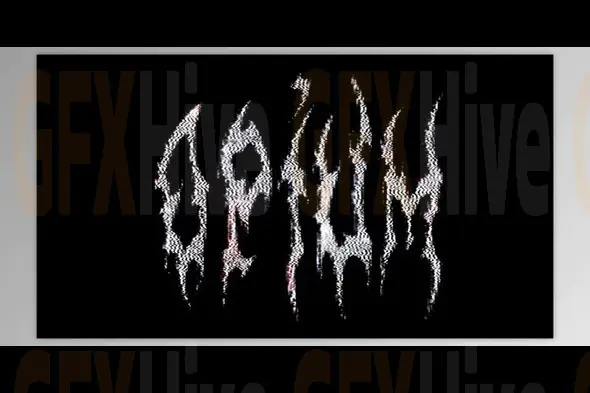
Drawn transitions are artistic video effects that simulate a hand-drawn look, providing a creative and playful way to switch between scenes or clips. They can give your video a unique identity and help to maintain viewer interest. Ideal for everything from educational videos to promotional content, these transitions add a layer of charm and character that standard cuts or fades simply can’t match.
[HEADING=2]Why Use Free Drawn Transitions in Your Projects?[/HEADING]
Here are several reasons to incorporate the
Free Drawn Transitions from GFXInspire into your video editing arsenal:
[HEADING=2]1.
Creative Expression[/HEADING]
Using drawn transitions allows you to express creativity in your videos. These transitions can turn a standard video into an engaging visual experience. Whether you're making a vlog, tutorial, or a promotional video, the
Free Drawn Transitions can make your content stand out.
[HEADING=2]2.
Versatility[/HEADING]
The
Free Drawn Transitions are versatile and can be used across various projects. They fit seamlessly in:
- Educational Videos: Enhance explanations by visually illustrating the transition between concepts.
- Social Media Content: Capture attention on platforms like Instagram, TikTok, or YouTube with vibrant transitions.
[*]Corporate Presentations: Add a touch of creativity to professional presentations while maintaining a polished look.
[HEADING=2]3.
Easy Customization[/HEADING]
These transitions are designed to be user-friendly. You can customize the colors to align with your brand or project’s aesthetic. This flexibility allows you to maintain a consistent visual identity across your video content.
[HEADING=2]4.
No Plugins Required[/HEADING]
One of the best features of the
Free Drawn Transitions is that they require no external plugins. This means you can start using them right away without needing to install additional software. This makes it convenient for users of all skill levels, from beginners to seasoned professionals.
![Placeholder for Customization Options Image]
[HEADING=1]Key Features of Free Drawn Transitions[/HEADING]
Here are some of the standout features you can expect from the
Free Drawn Transitions offered by :
[HEADING=2]1.
Nine Unique Transitions[/HEADING]
With
nine different transitions, you’ll have plenty of options to choose from. Each transition offers a distinct hand-drawn effect, allowing you to find the perfect match for your project’s theme and tone.
[HEADING=2]2.
Color Control[/HEADING]
Easily modify the colors of each transition to fit your brand’s palette or the mood of your video. This feature enhances the cohesiveness of your project and makes it visually appealing.
[HEADING=2]3.
High-Quality Output[/HEADING]
All transitions are designed to provide high-quality visuals, ensuring your videos look professional and polished. The transitions retain clarity and detail, even when rendered in high-definition formats.
[HEADING=2]4.
Simple Integration[/HEADING]
Integrating the
Free Drawn Transitions into your existing projects is a breeze. Simply drag and drop the transitions into your timeline, and they will fit perfectly between your clips. This ease of use saves you time during the editing process.
[HEADING=1]How to Use Free Drawn Transitions in Your Video Projects[/HEADING]
Here’s a step-by-step guide to incorporating the
Free Drawn Transitions into your video projects:
[HEADING=2]Step 1: Download the Transitions[/HEADING]
Visit to download the
Free Drawn Transitions. Ensure your editing software is compatible, such as Adobe After Effects or similar programs.
[HEADING=2]Step 2: Import into Your Project[/HEADING]
Open your video editing software and import the downloaded transition files. Familiarize yourself with the layout and ensure you know where to find the transitions for easy access.
[HEADING=2]Step 3: Select Your Clips[/HEADING]
Choose the clips you want to transition between. Drag them onto the timeline of your editing software, leaving space for the drawn transition in between.
[HEADING=2]Step 4: Apply the Transitions[/HEADING]
Drag the desired drawn transition from your assets and place it between the clips. Adjust the timing to ensure a smooth transition effect. You can also customize the colors if needed.
[HEADING=2]Step 5: Preview and Adjust[/HEADING]
Before finalizing your project, preview the transitions in action. Make any adjustments to the timing or colors as necessary to achieve the desired look.
[HEADING=2]Step 6: Export Your Video[/HEADING]
Once you’re satisfied with your edits, export your video in the desired format. Now you’re ready to share your creatively enhanced video with the world!