If File asks for Password Use :- GFXInspire.com -
[HEADING=2]
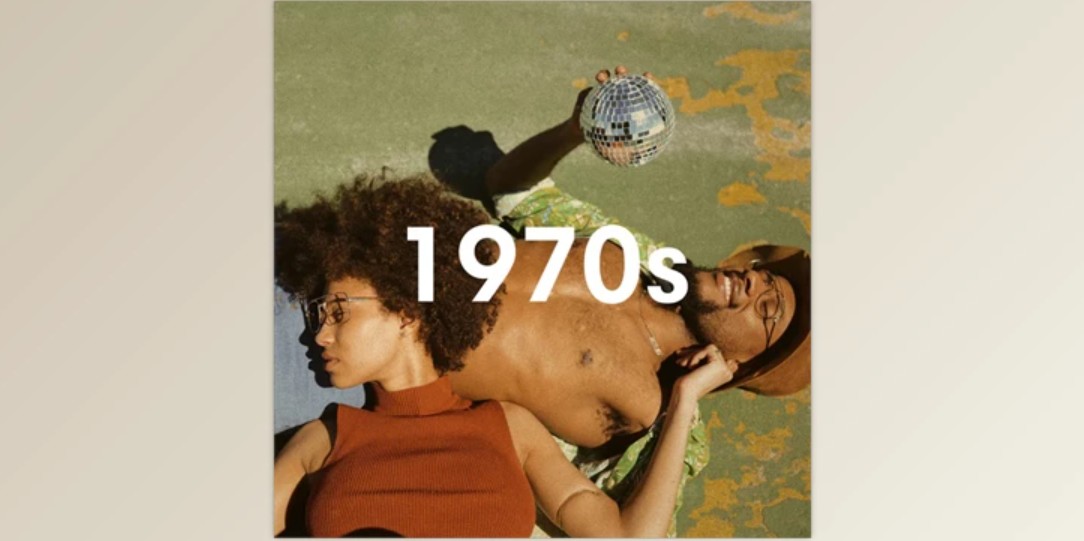
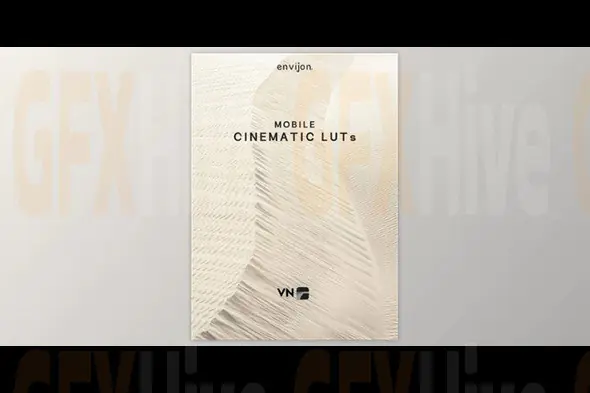
Free CineColor - 1970s LUT Pack: Add Vintage Charm to Your Projects[/HEADING]
If you're a filmmaker, video editor, or content creator looking to inject some retro flair into your footage, the
Free CineColor - 1970s LUT Pack is just what you need. This exclusive collection of LUTs (Look-Up Tables) is inspired by the aesthetic beauty of the 1970s, a time when film was king, and color grading was defined by rich contrasts and warm, vibrant hues. The
1970s LUTs pack from
GFXInspire is designed to bring that nostalgic, cinematic feel to your videos with minimal effort and maximum impact.
In this article, we'll dive into how the
CineColor - 1970s LUT Pack can elevate your video projects, the key features of this powerful collection, and how easy it is to integrate into your workflow. Whether you’re working on a
film project, a
YouTube video, or an
Instagram reel, these LUTs will give your footage a stunning vintage look.
[HEADING=2]
What is a LUT and How Does It Enhance Your Footage?[/HEADING]
A
Look-Up Table (LUT) is a powerful color grading tool used by video editors to transform the color palette of their footage. It’s essentially a mathematical formula that adjusts the colors in your video to create a desired effect. LUTs are widely used to apply specific color treatments, simulate different film stocks, or achieve cinematic looks.
The
CineColor - 1970s LUT Pack is designed to emulate the classic filmic style of the 1970s. This means it enhances contrast ratios, introduces warm mid-tones, and gives highlights a subtle golden glow, all while maintaining a balanced, vintage feel that makes your footage look like it was shot on classic film.
These color grading adjustments help give your projects a
timeless and
authentic look, perfect for storytelling or creating content that evokes nostalgia. Whether you’re shooting a
retro commercial, a
music video, or a
vintage-inspired documentary, the
1970s LUT Pack from
GFXInspire will help your visuals stand out.
[HEADING=2]
Key Features of the Free CineColor - 1970s LUT Pack[/HEADING]
[HEADING=3]
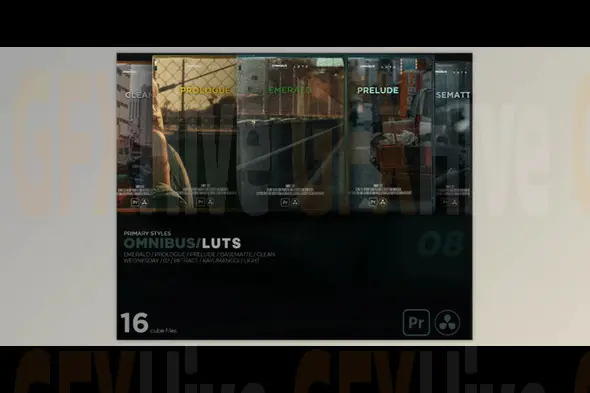
1. 10 Custom 1970s-Inspired LUTs[/HEADING]
The
Free CineColor - 1970s LUT Pack includes 10 meticulously crafted LUTs that are designed to capture the essence of 1970s cinema. Each LUT in this collection has been tailored to provide a specific look, ranging from deep, cinematic contrast to softer, vintage hues. These presets offer a variety of options to help you achieve the perfect mood and aesthetic for your project. Whether you’re working on a
film scene, a
short video, or a
vlog, you’ll find a LUT that suits your style.
[HEADING=3]
2. Perfect for Cinematic and Vintage Looks[/HEADING]
Inspired by the films of the 1970s, this LUT pack adds a retro charm to your footage that’s perfect for creating
cinematic or
vintage styles. The
1970s LUTs give your video a distinctive, warm tone with subtle nuances in the highlights and shadows, making it ideal for projects where you want to evoke nostalgia or emulate the film grain and color shifts of classic movies.
Whether you're trying to capture the feel of old-school
Hollywood cinema or create a visually stunning
music video with a retro edge, these LUTs help you bring that vision to life. They’re also great for projects where you want to add a sense of
timeless elegance or even a bit of
gritty realism, all without the hassle of shooting on old film stock.
[HEADING=3]
3. Available in .cube and .xmp Formats[/HEADING]
The
CineColor - 1970s LUT Pack is available in both the
.cube and
.xmp formats, making it compatible with a wide range of professional editing software. Whether you're working in
Adobe Premiere Pro,
Final Cut Pro X, or
DaVinci Resolve, these LUTs can easily be integrated into your workflow. Both formats are widely used in the industry and ensure that you can use these presets with ease in your preferred software.
- .cube: Compatible with DaVinci Resolve, Adobe Premiere Pro, and other professional editing software.
- .xmp: Specifically designed for Adobe Premiere Pro and Adobe After Effects, offering full flexibility in these editing platforms.
The dual format support makes it incredibly easy for video editors and filmmakers to access the same high-quality looks across different platforms, ensuring a smooth editing experience.
[HEADING=3]
4. Warm Mid-tones and Balanced Highlights[/HEADING]
One of the defining features of the
1970s LUT Pack is its ability to enhance
mid-tones and
highlights, giving your footage a vintage warmth. These LUTs are designed to replicate the unique color characteristics of film cameras from the 1970s, where the color grading was less intense but offered a more balanced, filmic look. You’ll notice that the highlights don’t get overly bright, maintaining a soft, natural glow, while the shadows retain detail for added depth.
These
warm mid-tones help add a unique
depth and
richness to your images that digital footage often lacks, making it ideal for scenes that need a more classic, grounded feel.
[HEADING=3]
5. Easy to Use with Minimal Adjustments[/HEADING]
Applying these
LUTs is a breeze. Once you’ve imported your footage into your editing software, you can easily apply any of the
10 LUTs from the
CineColor - 1970s LUT Pack to instantly transform the color grading of your project. While you can apply these LUTs directly out of the box, they’re also highly customizable.
You can adjust settings like exposure, saturation, and contrast to fine-tune the look. The LUTs themselves offer a great starting point, and you’ll find that just a few tweaks can help you achieve the perfect balance for your specific needs.
[HEADING=2]
How to Use the Free CineColor - 1970s LUT Pack[/HEADING]
Getting started with the
Free CineColor - 1970s LUT Pack is easy, and here’s a quick step-by-step guide:
[HEADING=3]
Step 1: Download the Free 1970s LUT Pack from GFXInspire[/HEADING]
Visit
to download the
Free CineColor - 1970s LUT Pack. With just a few clicks, you’ll have access to the full collection of 10
LUTs in both
.cube and
.xmp formats.
[HEADING=3]
Step 2: Import the LUTs into Your Editing Software[/HEADING]
- For Adobe Premiere Pro and After Effects: Simply open your project, go to the Lumetri Color panel, and apply the desired LUT in the Input LUT section.
- For DaVinci Resolve: Go to the Color workspace and apply the LUT by selecting it in the LUTs panel.
[*]For Final Cut Pro X: You can drag the LUT directly onto your clips in the Effects Browser.
[HEADING=3]
Step 3: Adjust and Fine-Tune[/HEADING]
Once you’ve applied the
LUTs, feel free to tweak the
contrast,
saturation, and
exposure to match the look you’re aiming for. These LUTs work as a base, and with just a few adjustments, you’ll get the perfect vintage effect.
[HEADING=3]
Step 4: Export and Share[/HEADING]
After applying the LUT and making necessary adjustments, export your footage in the desired format. Your video will now have a stunning, retro-inspired color grading that’s perfect for
social media,
films,
advertisements, and more.
[HEADING=2]
Conclusion: Bring Retro Magic to Your Footage with the Free CineColor - 1970s LUT Pack[/HEADING]
The
Free CineColor - 1970s LUT Pack from
GFXInspire offers a simple yet powerful way to add vintage charm to your footage. Whether you're looking to evoke a sense of
nostalgia, create a
cinematic look, or enhance the visual appeal of your project, these LUTs provide the perfect solution. With 10 versatile LUTs available in both
.cube and
.xmp formats, you’ll be able to achieve a stunning, retro aesthetic in no time.
Ready to infuse your projects with the timeless allure of the 1970s? Download the
Free CineColor - 1970s LUT Pack today from
and start creating beautiful, nostalgic visuals.
Password for Zip is:
GFXInspire.com